


But this wouldn't be a craftin post with out a tutorial of some kind. My mother in law had this old lamp that was destined to become something awesome with a little help from yours truly. In honor of quilts, this lamp will become "All Stitched up". For this challenge I wanted to use things I already have, like most crafters I needed spray paint, modge podge and fabric scraps.
Before you get to far if your using an older lamp just give it a slight dusting to allow things to stick properly. I first, eyed the measurement to cover the shade completely. I did a dry run first, tapping the fabric and rolling it to get a smooth application I left a couple inches extra then I will cut it later. You don't absolutely need them but if you have some binger clips they will help greatly to keep the fabric from slipping.
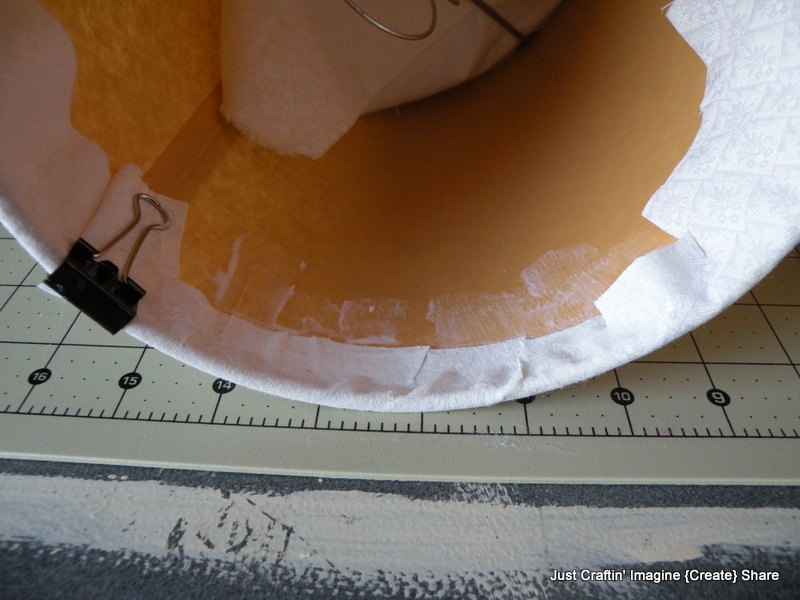
Do small sections at a time applying modge podge directly to the shade, stretch, smooth out and apply a binder clip when needed. When you get back to where you started fold it over a apply more glue for a clean edge. So now you need to clip the inside curve and modge podge it. It will look like this after.If I wanted to I could leave it just as is with the basic but I couldn't have that so I decided to make my shade look as if I stitched it. I applied different shapes of coordinating fabrics.I continued until all the spaces were filled up, allowed to dry completely then applied my stitches. I left the top and bottom edges with frills I thought the rest had enough character for the look.I plan to use it in my craft area, yellow is very inspiring to me also very cheerful. What do you think? I hope everyone has a bright day!


No comments:
Post a Comment