So to start this all off I thought I would post my first adventure in make a bump cake. The new baby shower craze for a mommy to be. My sister has requested a bump cake for her shower and I eagerly jumped at the chance to dust of my baking skills and give this a try.
I surfed the world wide web for any information I could find about fondant to gnache filling. The results were endless and I finally had to sit down figure out want I ultimately wanted with my sisters shower colors in mind. Here is a rough sketch of want i wanted it to look like.....the shower colors are purple and turquoise with peacock accents. I plan to use the flower with the feathers on the cake but that could change.
I guess with anything you start at the beginning, I decided I wasn't going to use a homemade cake I hadn't tried it before and didn't want to run the chance of a mistake with this cake. So I found a way to enhance a box cake mix using a recipe found
here. Basically I doubled the oil, added an egg, reduced the water to 1 cup and a box of coordinating instant pudding.
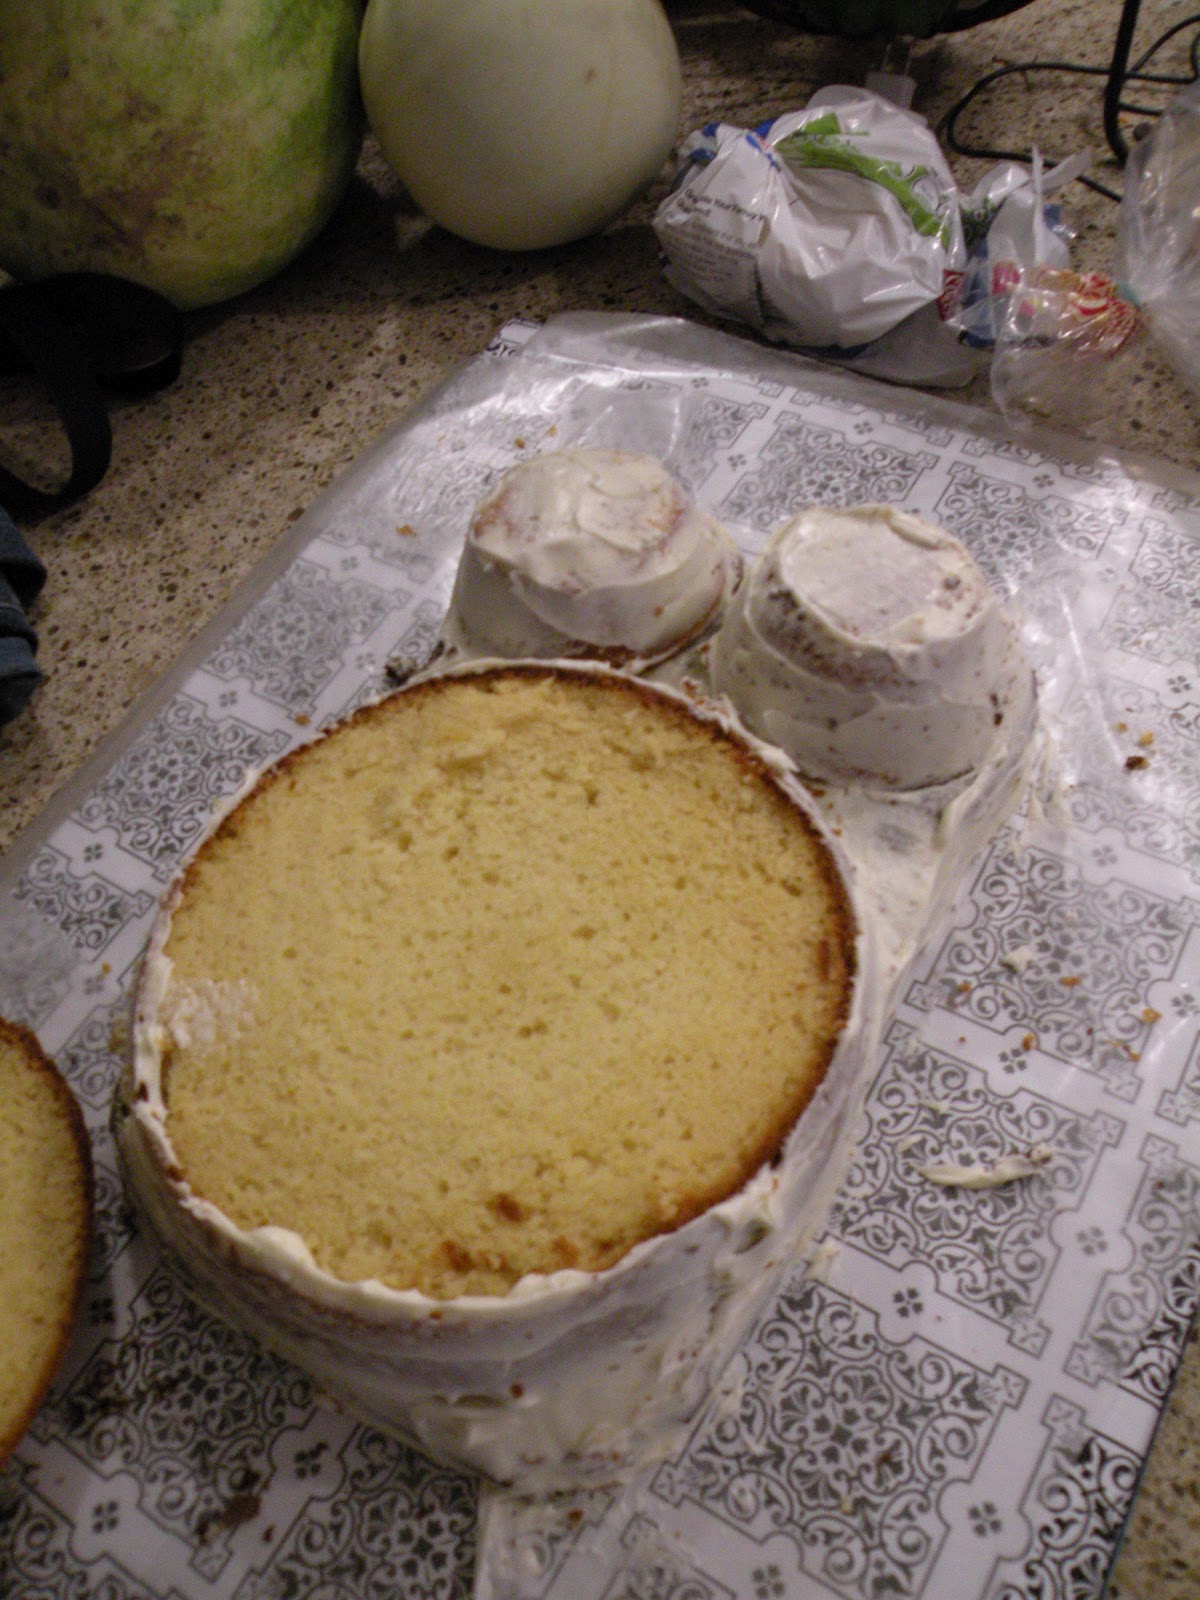
So I gathered my supplies box cake mix (I recommend a name brand) I used glass pyrex large bowl for the belly, small cups for the breasts, and a 9x13 glass pan. My belly will be white filled with mocha gnacha filling and base will be chocolate. Follow all directions for mixing, grease and flour your pans this is necsssary to ensure the cake releases from the pans to take them out. There is a trick instead of using flour, save a small amount of your cake mix instead.
Fill the bowls 3/4 for the way full, the belly will take the longest to cook just watch your time and oven for done ness it should not jiggle, it will have a nice golden brown peak. Let the pans cool completely on the counter. After they are cool removed carefully onto your cake board and level edges. I add some strips of wax paper underneath the edges of the cake to protect my board.
If you notice the bread it is a trick I picked up that helps keep your cake moist if you need to let it sit on the counter for any length of time, it works well on over baked cookies.
After you level you can now assemble you cake and dry ice. My bump has been skewered in half to add my mocha gnache filling here is the recipe for it
here. I then filled my cake replaced the top layer and finished dry icing the cake so it could rest overnight and decorate it the following evening. I did had a hershey kiss for the belly button, I allowed the thin coat of icing to dry before I placed a light wrapping to protect for odors.
After resting for awhile I prepped my area I would be working on the fun part. Decorating with fondant which I made several days ago following this
here.
The next evening I pulled out my cake and got to work, since I was a
little flustered getting started I didn't capture start to finish
decorating. This was my first time fully decorating a cake with fondant I
did have some problems in the beginning with the fondant sticking until
my mother in law showed me a pastry trick. Use a tea towel roll the
fondant out on it then it will not stick, it worked perfectly. Here is a
picture of the finished project.
I did have some cracks but I covered them the best I could with flowers or swirls. To get the shimmer I used pearl crystal dust.
My beautiful sister and her bump cake,she loved it! I was happy with the end result and I
can't wait to work with fondant again.


No comments:
Post a Comment